VoIP Phone Guides
Need to talk to us? Give us a call 877-699-6345

Phone Installation
Installing a phone correctly is critical to making it work. If a cable is plugged in the wrong port, a reliable internet source is not provided, or if the phone is not powered properly; your call quality could suffer, or worse, your phone just won’t work. After it is plugged in, you will need to provision (connect) your phone to Covoda so it can make and receive calls. If you are new to Hosted VoIP, this may be confusing; feel free to contact Customer Support for more guidance. 877-699-6345 or support@covoda.com
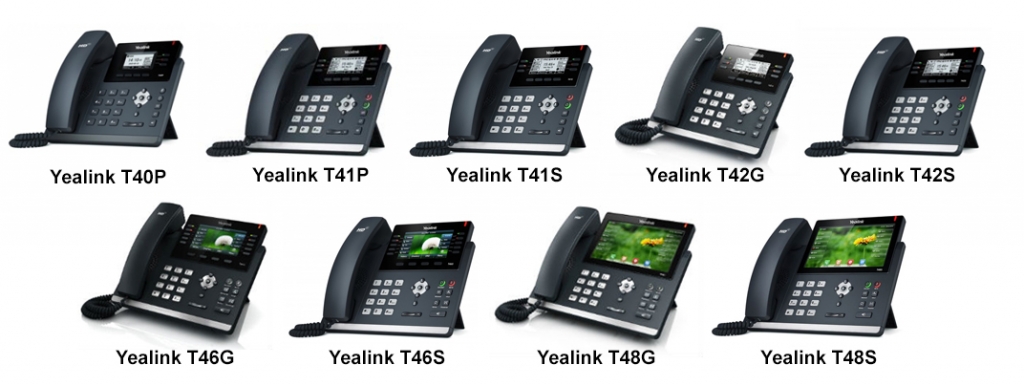
Covoda highly recommends only using supported phones on your system. These phones are centrally provisioned allowing any configuration changes made in the admin portal to be sent to the phone automatically upon reboot, with no manual configuration required. Although most SIP compatible phones work, using unsupported phones increases the probability of experiencing issues and limits the amount of support Covoda can provide.
If you have any questions concerning compatibility or how to manually configure unsupported phones, please contact Customer Support.
| Internet Source | Physical connection to the internet. This can be shared with other network devices (phones, computers, etc.) and dispersed through an ethernet cable plugged into a wall jack, router, or switch. |
| PoE | Power over Ethernet. A technology that allows ethernet cabling to carry both data and electricity to a device. |
| Daisy Chain | Uses the phone’s PC port (switchport) to share the same internet source with another device, such as a computer. |
How It’s Done
- Plug in the handset and headset cables.
- Plug the network cable from the internet source into the LAN port on the phone (may be labeled as SW, NET, or Internet).
- If daisy chaining the computer to the phone, plug a network cable into the PC port on the phone and then plug the other end into the computer.
Note: The phone should supply the connection to the computer (internet source > phone > computer).
- If the phone is not using PoE, plug in the power adapter.
Provision Phones
Phones Purchased from Covoda
All phones purchased from Covoda should arrive pre-configured with the latest firmware version ready for plug-and-play installation (Zero Touch Provisioning). Assuming network requirements have been met, simply plug in the phones, wait approximately two minutes for the phones to register, and then make test calls to confirm connectivity.
Phones Not Purchased from Covoda
If you are using phones purchased from third-party vendors, you can manually provision your devices. Automatic provisioning allows you to specify a URL or IP address where the phone can download its pre-built configuration file(s) from the server. This is not only beneficial for the initial setup of the device, but it also simplifies updates. Whenever there is an update available, simply reboot the phone to obtain the new configuration file(s).
To Activate a Phone
- Export your users to view a complete user list with their dialable usernames.
- After plugging in the phone, press the Activate softkey.
- Enter the numerical dialable username for the user assigned to that phone.
Once the phone has identified the user, you will hear “Thank You” and the phone will automatically update its configuration and reboot (possibly more than once). Activation can take some time depending on your phone and network speed. Don’t be alarmed if your phone’s screen is blank during this time. When you have successfully activated the phone, the user’s extension(s) will appear on the display. If the phone does not automatically reboot, you can manually power cycle the device.
In the event the device activation is unsuccessful, and you need further assistance, please contact support@covoda.com.


